

One of my good friends gave me two rolls of washi tape for my birthday last summer and I immediately went to label my pens and decorate with them because I have this thing for decorative tape (it's weird). Anyway, recently, I've been getting the urge to get myself a nice, big monthly wall calendar to make up for the tiny one in my agenda and I didn't really feel like spending money on such a simple thing either, so here's the DIY!
I'm super happy with how it turned out and I might decide to add a little title of some sort up top, but it's late, so forgive me.
What You'll Need:
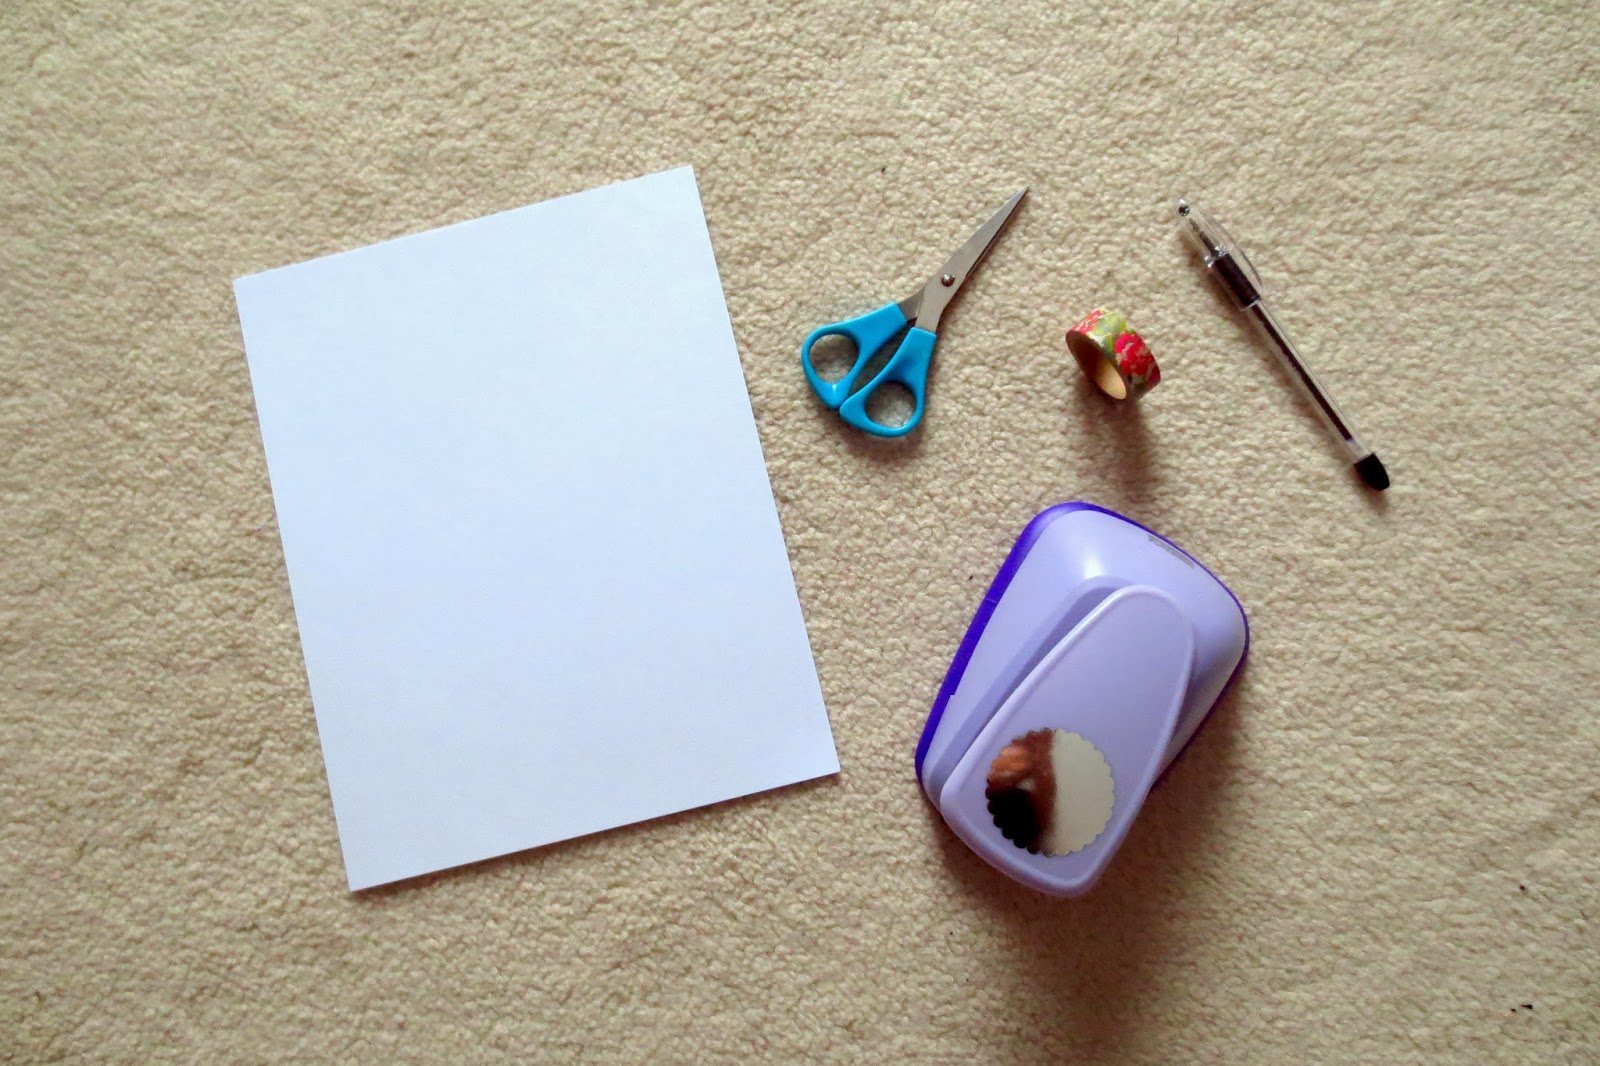
- 3-4 sheets of printer paper
- 4-5 sheets of cardstock in your choice of colour (not pictured)
- washi tape (try to get a brand new roll)
- scissors
- ruler and/or tape measure (not pictured)
- clear tape (not pictured)
- Scotch/painting tape (not pictured)
- scalloped circle punch (optional)
- regular circle punch (optional)

The first thing you're going to want to do is make your circles. I went for black cardstock scalloped circles with a white printer paper circle, but if you don't have these punches, you can easily make squares or trace circles instead. Then, cut them out.


Trim them if necessary.


Measure out your calendar on your wall. Be sure to have seven columns and six rows at least. I measured out the calendar to be about 77 cm across and 66 cm down so each column would be about 10 cm apart with some extra wiggle room when the washi tape would come into play.

Start putting the tape on your wall to create the rows and columns. Try to keep the lines as straight and parallel to each other as possible. I had to go back and fix mine numerous times because the stupid washi tape kept going on an angle, which was not fun.
I found that the washi tape didn't stay all that well on my wall, so I put some clear tape on the ends to help them stick a bit more.

Then, tape all your circles to your wall. Afterwards, layer the inner circle (which is what you're going to write on) inside and tape it on.
Add the dates and then you're done!
I'm so excited to start using this new calendar, but I have to go and invest in a decent set of Sharpies (all I have is a black one) to brighten up the calendar. I guess you could probably tell that I ran out of the floral washi tape about 3/4 of the way through, which was really annoying, but I guess it's a happy accident because the calendar looks a bit brighter now.
What did you think of the calendar? Will you be trying it out? If so, what modifications would you make? Share your stories below!
Thank you so much for reading!
No comments:
Post a Comment